A busy long-weekend rebuilding and improving the machine
A few weeks back I got the reins input working, with all the necessary transform and connection steps required. If you like, the plumbing connection has now been made. But the plumbing isn't perfect yet -- there are some knocking pipes, if you will. So I thought I would try to fix some of the more annoying issues, while it is still fresh in my mind. In particular, there can be lag of a second or more when turning.
The lag comes because I have made a simple Pulse Width Modulation scheme to implement turns of various sharpness. So for a sharp turn, it will basically try to hold the appropriate key down the whole time, while for a gentle turn, it will just stab at the key every now and then. This is based on a 1 second cycle, where some fraction of that second will be with the key down, and the remainder of the time with it released.
One of the problems of this arises when you increase or decrease the sharpness of the turn, because you have to wait for the current 1 second cycle to complete, before it will switch to the new cycle with the adjusted pulse width modulation.
There is a second problem related to this, which is if you stop turning, the horse might still keep turning for a fraction of a second. And vice versa, when you start a turn, it might be a fraction of a second before it starts the turn.
All in all, this makes it feel like you are riding a horse whose uncle was a river barge, rather than a super-obedient and well trained horse, like Unbridled effectively models.
To fix these, I need to add code that works out if you are increasing or decreasing the strength of the turn instruction -- and based on that, immediately effect the change of intention: If reducing the turn, then release the key immediately, so that it has immediate effect. Conversely, when increasing a turn, it should immediately press the key, so that the turn is sharpened without delay.
With that, it was still a bit annoying that at low turn rates that the horse's head still only ticks to the sides for brief bursts. While it makes for low turning rates, its quite annoying to use. So I have increased the minimum turning rate to 50%, which helps somewhat. I still need to implement a "centre position" sensor, so that the horse always stops turning when its facing forwards.
I was then busy for a couple of weeks, but now that Easter is here, I went to visit my dad, and took all the bits and pieces up in the trailer, and we spent the weekend working on various physical aspects of the machine. The rest of this post is a tour through that work, which followed several streams in parallel.
First up, loading the hydraulics, saddles, timber and other bits into the trailer for the 4 hour drive:


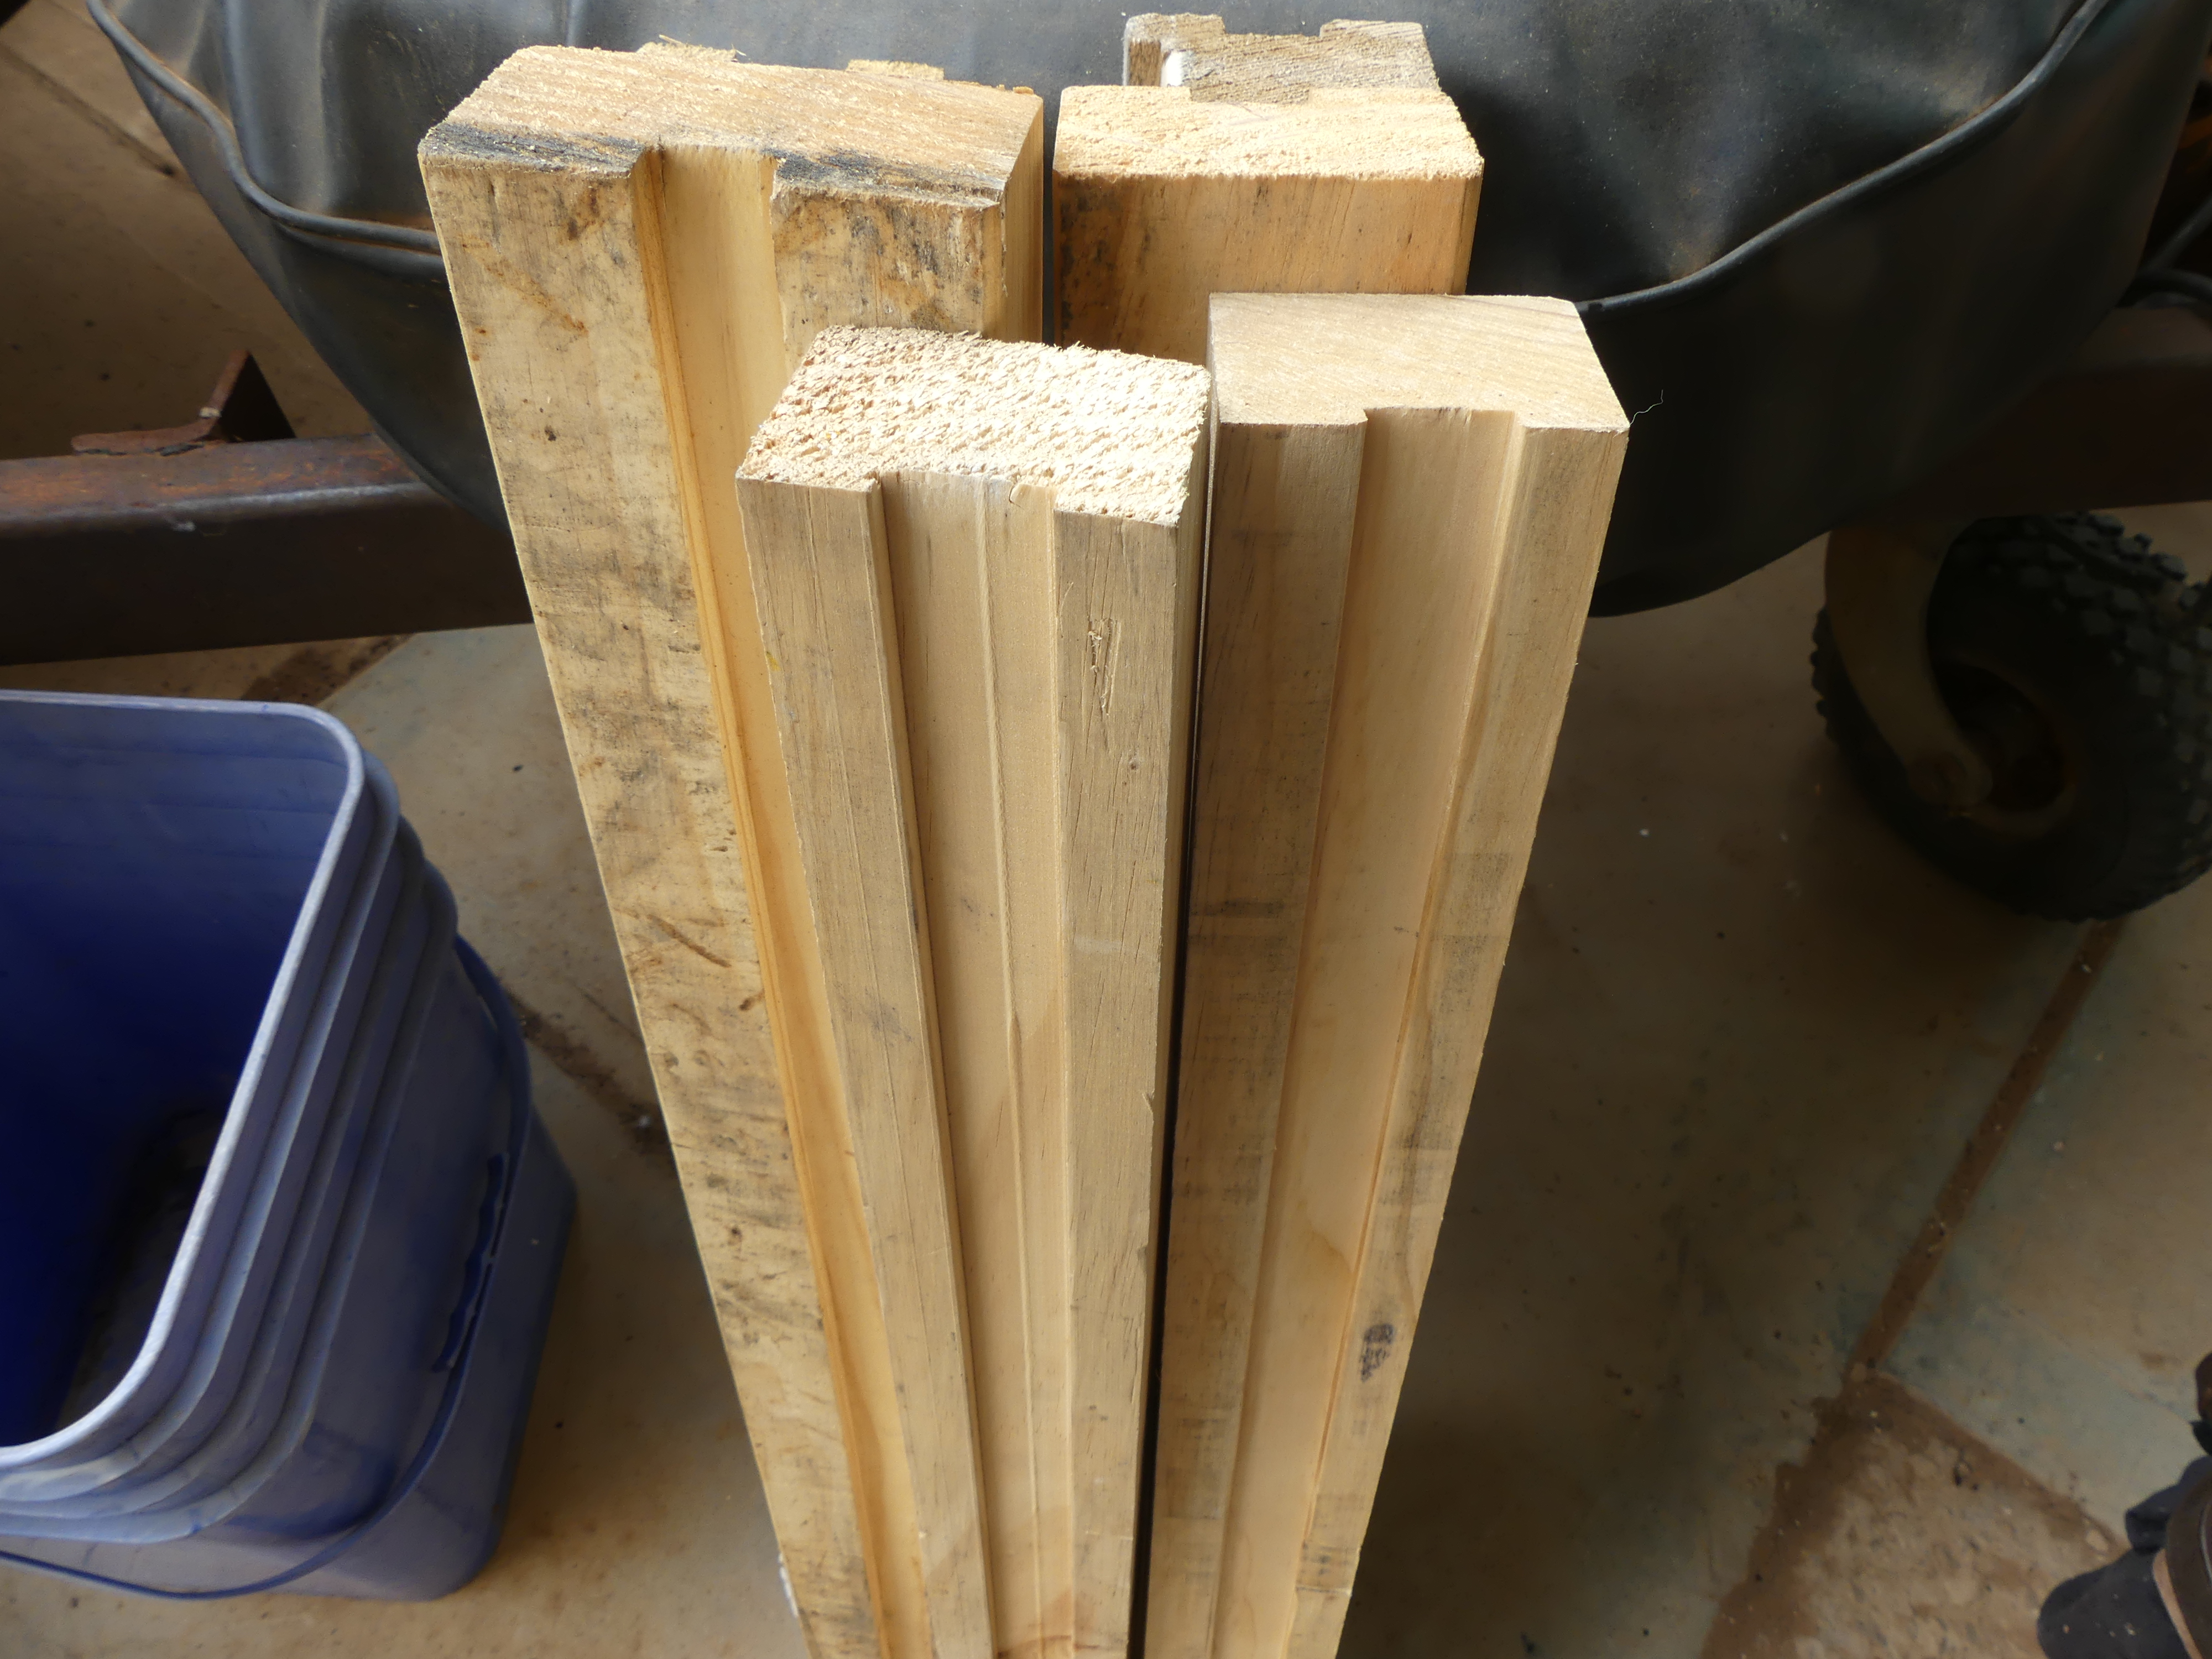
Okay, on arrival, the first step was to build up the vertical ends to the saddle nest. I could have paid lots of money for single slabs of wood, but instead opted for the lower-cost option of joining several smaller pieces together:

Once one end was done, it was time to start adding the cross-members for the bottom:


Now, while all that was going on, my dad was starting fabricating and welding up sets of concentric rings to secure the old car suspension springs that the main body at home is mounted on. First up, rolling the flat-bar we had on hand using one of my dad's old workshop tools:


Here is the head on the little table mount, before dismantling the lateral bearing setup:

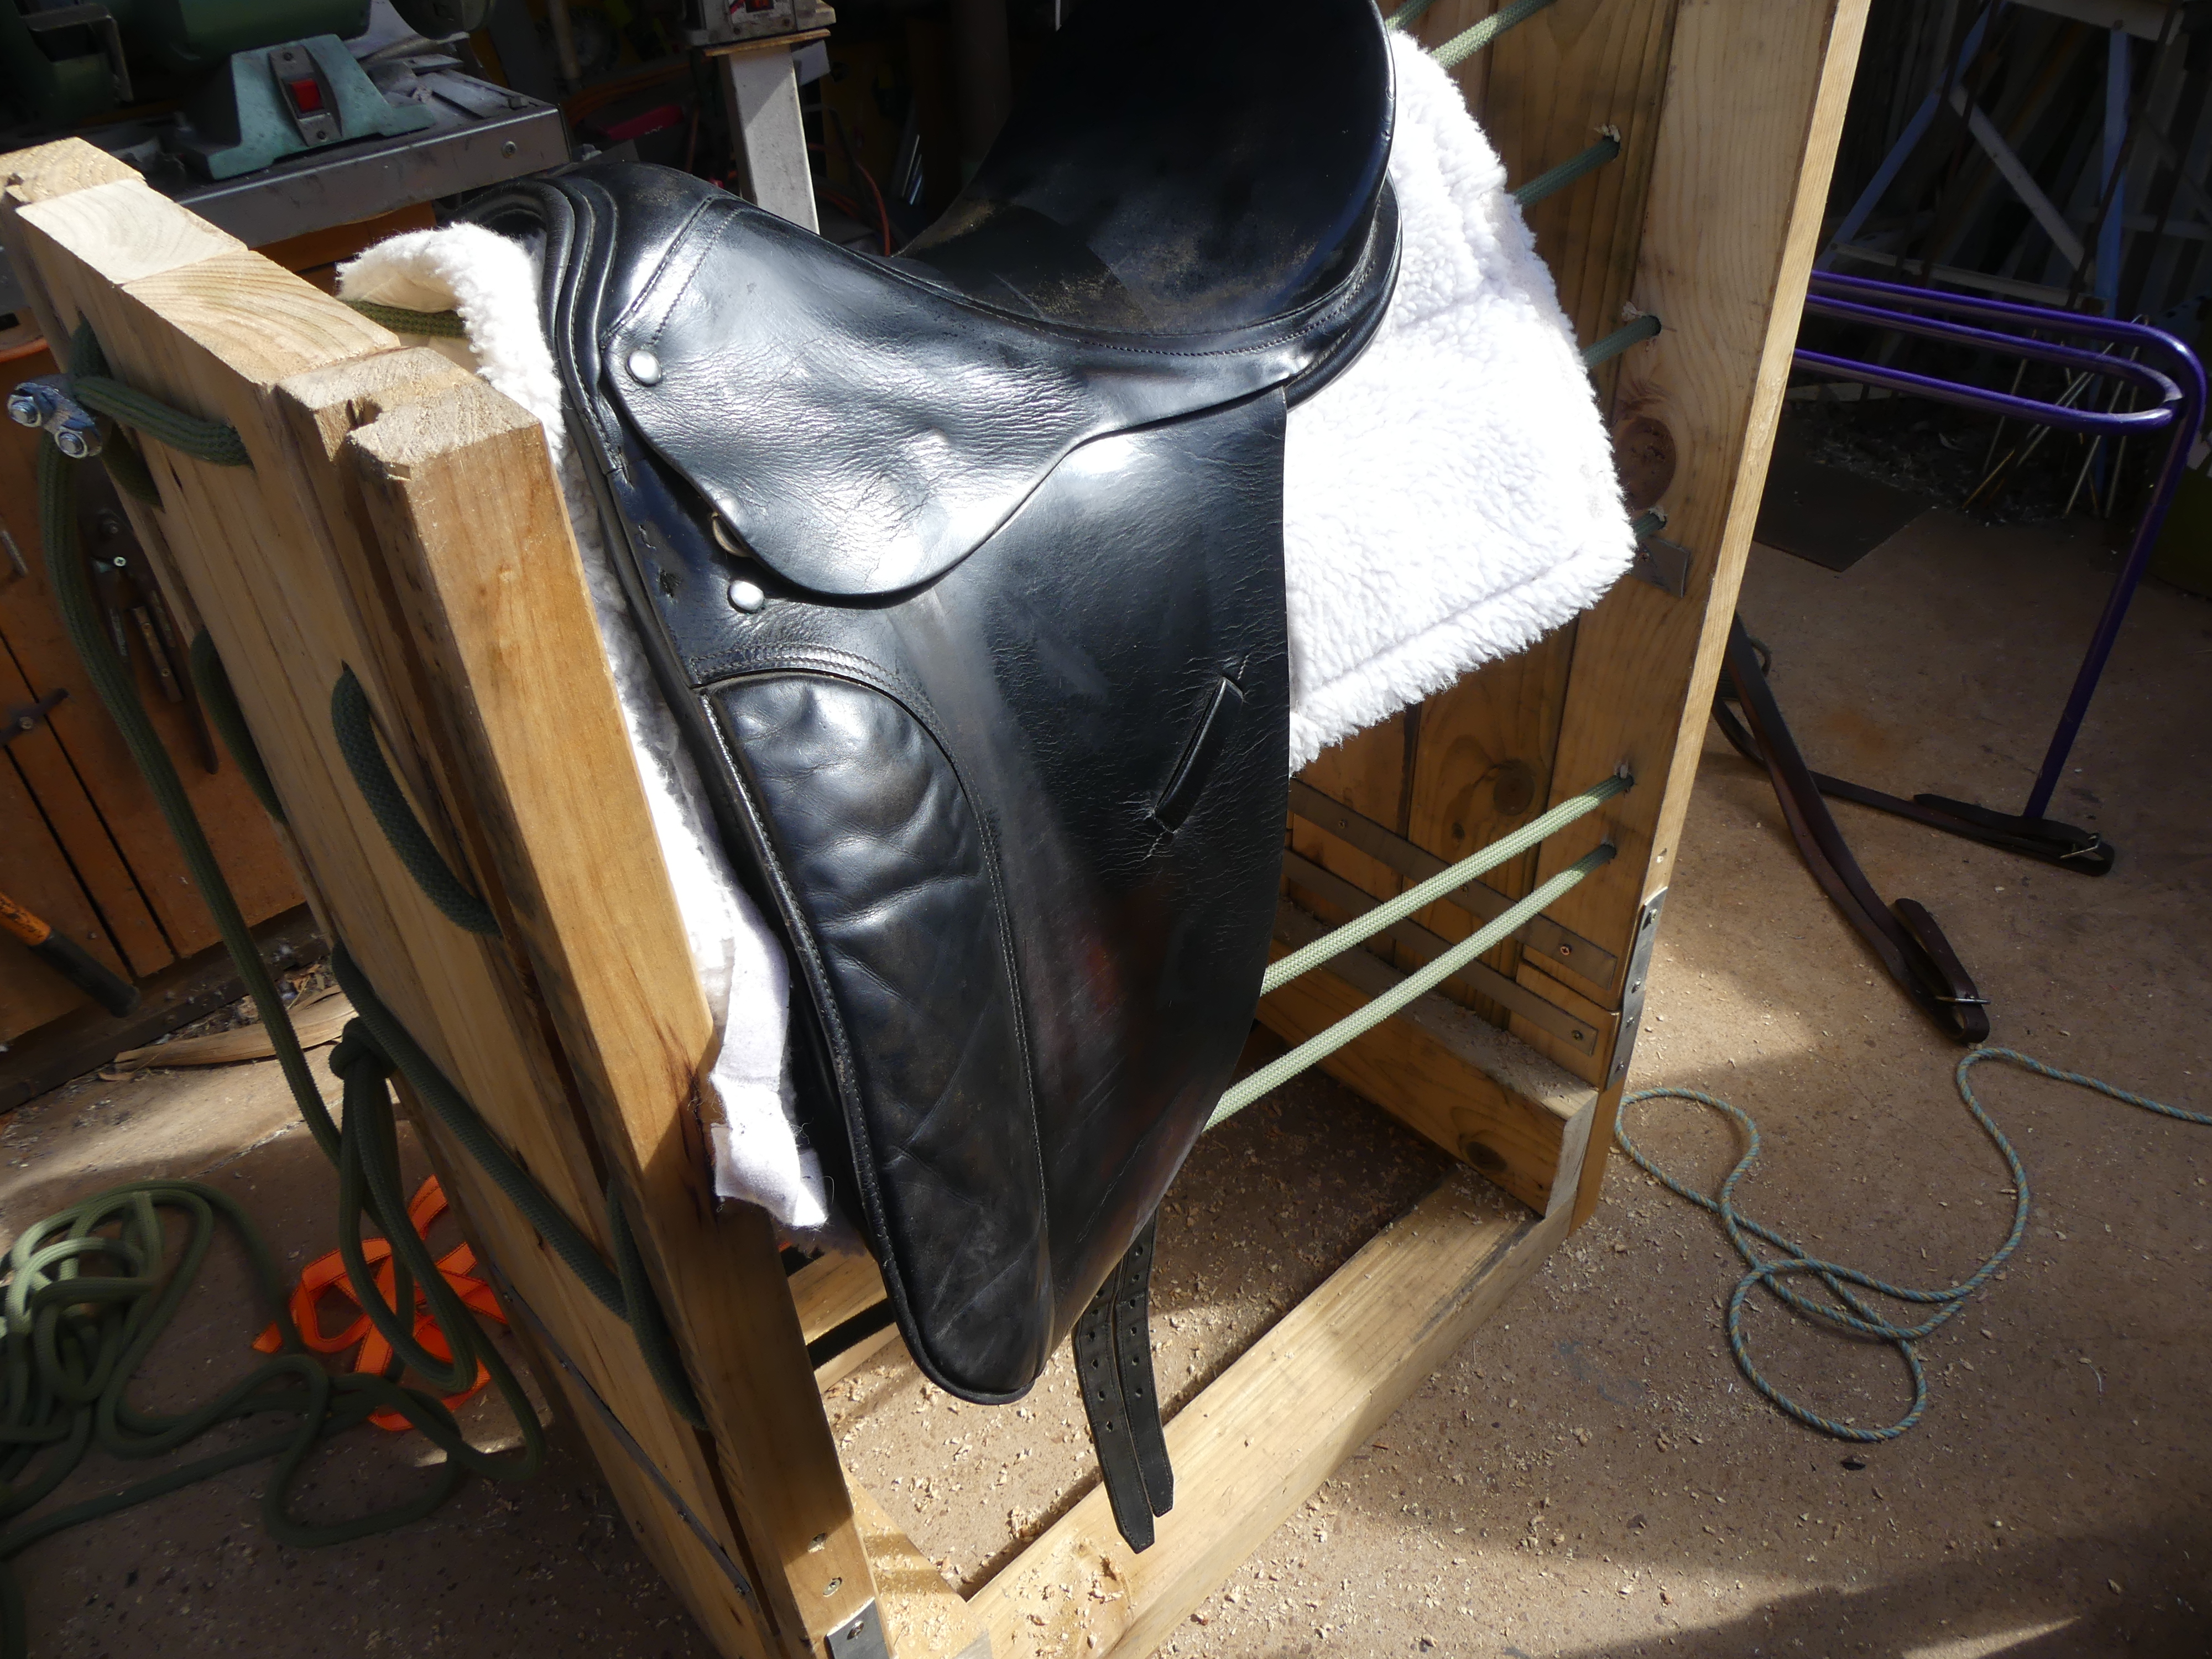
... and a quick ride test by my daughter of the saddle nest. The verdict is that it feels like a small pony:

But it doesn't want to go for a walk. Bad mechanical horse!


In the meantime, I had cut-down the table panel, and drilled holes in the mounting block for the bearings, and reattached everything, so that the head and neck was now mounted directly onto the nest frame, and at a better height, although still a little low:


In the meantime, dad had started welding the rings to mounting plates. The actual mounting will be done later when I get time.


Dad in the meantime had finished working on the spring holders:


Then it was time to weld the hinge barrels onto these plates:


Then it was time to add screw holes and counter-sink them ready for attachment:


Time to start putting it all back together:

And slide the head onto the hinge:


To stop the head falling off mid-ride, we use a simple locking pin:

And before we knew it, it was time to drive home in the Easter traffic, which is always an "experience" here in Australia, as lots of folks who live in the city and have limited experience driving on country highways come out in force for the long-weekend, and by the end are tired, stressed, and in many cases, a bit drunk and/or hung-over, and tend not to be particularly attentive or safe drivers. So we decided to head home first thing on the holiday Monday morning, to avoid the worst of the traffic in the afternoon. Even so, we saw plenty of poor driving, including people cutting in after overtaking us (remember we have a heavy trailer on the car, and so folks should be thinking about leaving plenty of safe stopping distance for us) just a few metres ahead while doing 110km/hour, or just sitting up our backsides with only a car-length or so between them and us. Anyway, enough whinging about traffic!
Once home, we set the machine up with Unbridled: That Horse Game again to see how it feels now that you can sit in a real saddle while controlling it with the reins:

Now that the hinge is much sturdier, it is easier to chock the head at a better angle, until I make it motorised:


So what's next?
I need to re-thread the ropes through, with more pool noodles on the main supporting ropes, partly to slightly further lift the saddle, and also to bulk out the sides of the horse a bit. I'm also considering putting panel sides on the lower part, so that there is a firm surface to register leg aids against, once I add the leg-aid sensors. Also, the neck doesn't auto-return to centre, and it doesn't know when it is exactly centred, which currently makes it a bit annoying to stop the horse turning in the game. So I'll also look at making a simple sensor for that, and improving the software to use it. It's also time to tidy up the cable runs a bit, too, so that this nest of wires aren't hanging around everywhere!
In short, thanks to lots of help from my dad, I am now at the point where I have plenty of things I can get on and do, without being held up by the hardware not being sufficient -- especially being able to work on the leg aid sensing, which I am really excited to get in place, so that you can leg-yield.
To finish up, here is a short video of the machine after we set it up again, and playing the game:


Comments
Post a Comment